|
|
|
|||||||||||||||||||||||||||
|
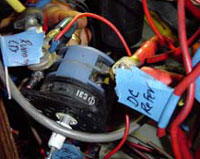
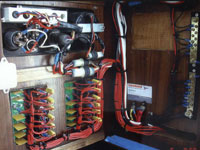
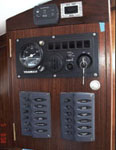
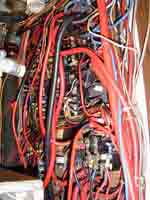
Electrical upgrades and trouble shootingScott is a very good trouble shooter. He has solved many long term problems in the first hour onboard many boats. He has a very good reputation and is known for his ability to solve difficult and complex problems in a short time. The first set of photos is of a panel built for Yanmar Engineering Services by Scott in 2005. The panel opens and closes easily.
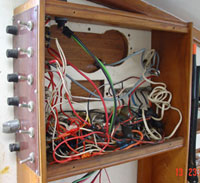
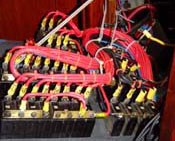
Electrical Panel Upgrade ExampleDo you have an electrical panel that looks like the before photo. We can make it look like the after photo in just a couple days. Scott has rewired many panels and can usually complete a job like this in just two to three days. Notice we used all the old breakers. This was the original 18 year old panel from the builder. It had been added to many times and power pulled from all over. The owner was having trouble following all the different unlabeled wires. He decided to start over and let us clean up the whole area. The electrical panel could only be accessed from the rear. This made repairs difficult. We decided to hinge the main panel so it could be opened from the front. This is a photo of the final panel open.
|
||||||||||||||||||||||||||
| © Team Yachtwork 2007 | |||||||||||||||||||||||||||


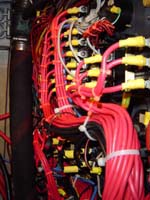
 The
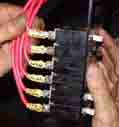
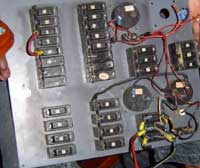
panel on the left was a complete rewire. On the right panel we removed
all the old battery cables and did our best to sort out the mess.
The
panel on the left was a complete rewire. On the right panel we removed
all the old battery cables and did our best to sort out the mess.
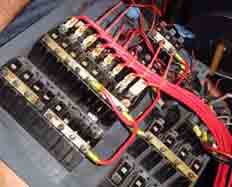
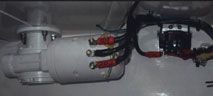
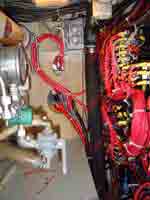 After
we hooked up the new panel the voltage throughout this whole boat
was back to normal.
After
we hooked up the new panel the voltage throughout this whole boat
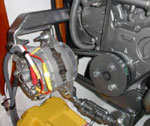
was back to normal.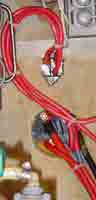 The
Battery Switch
The
Battery Switch